
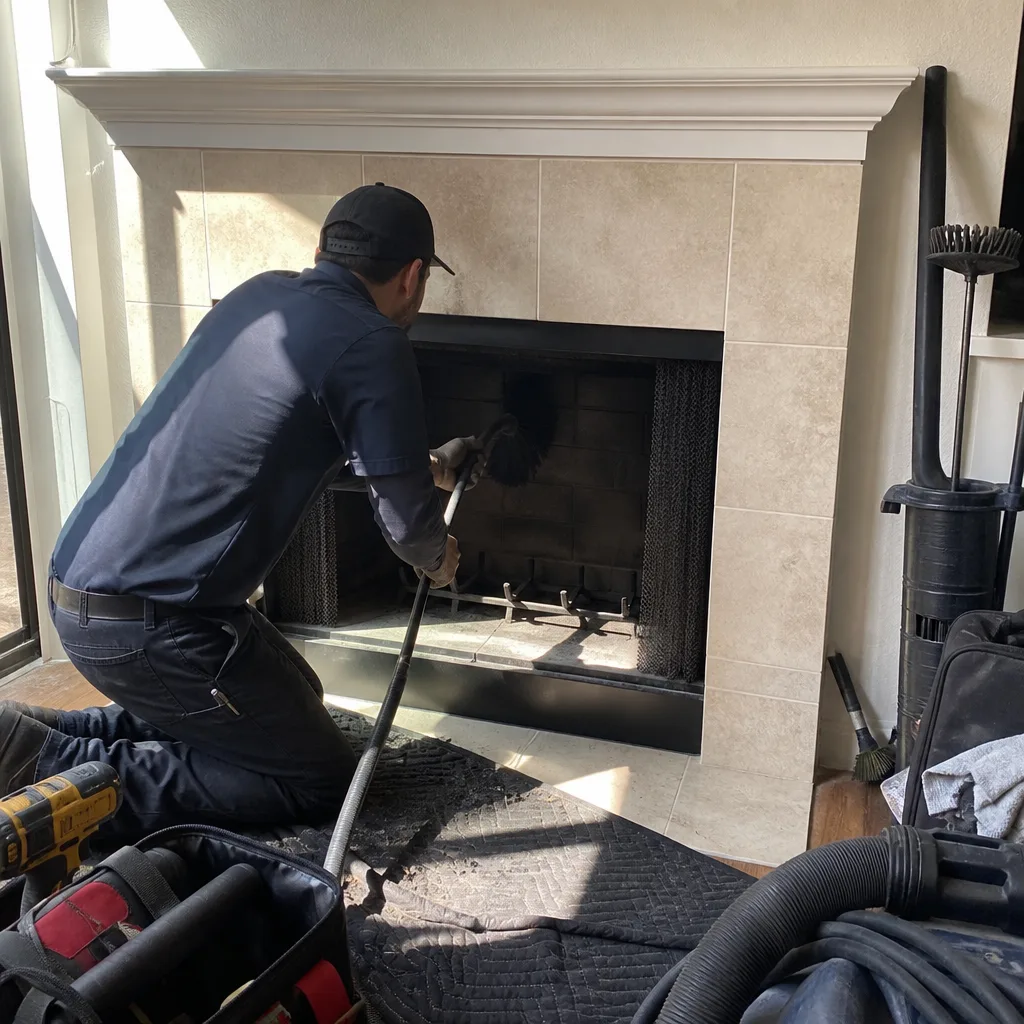
Level 1 sweep and inspection to the NFPA 211 annual standard - flue, crown, cap, and flashing checked and photographed
Chimney sweep logs do not sweep chimneys. They loosen some creosote - which then falls where a brush and vacuum still have to collect it.
Flue relining
 Before
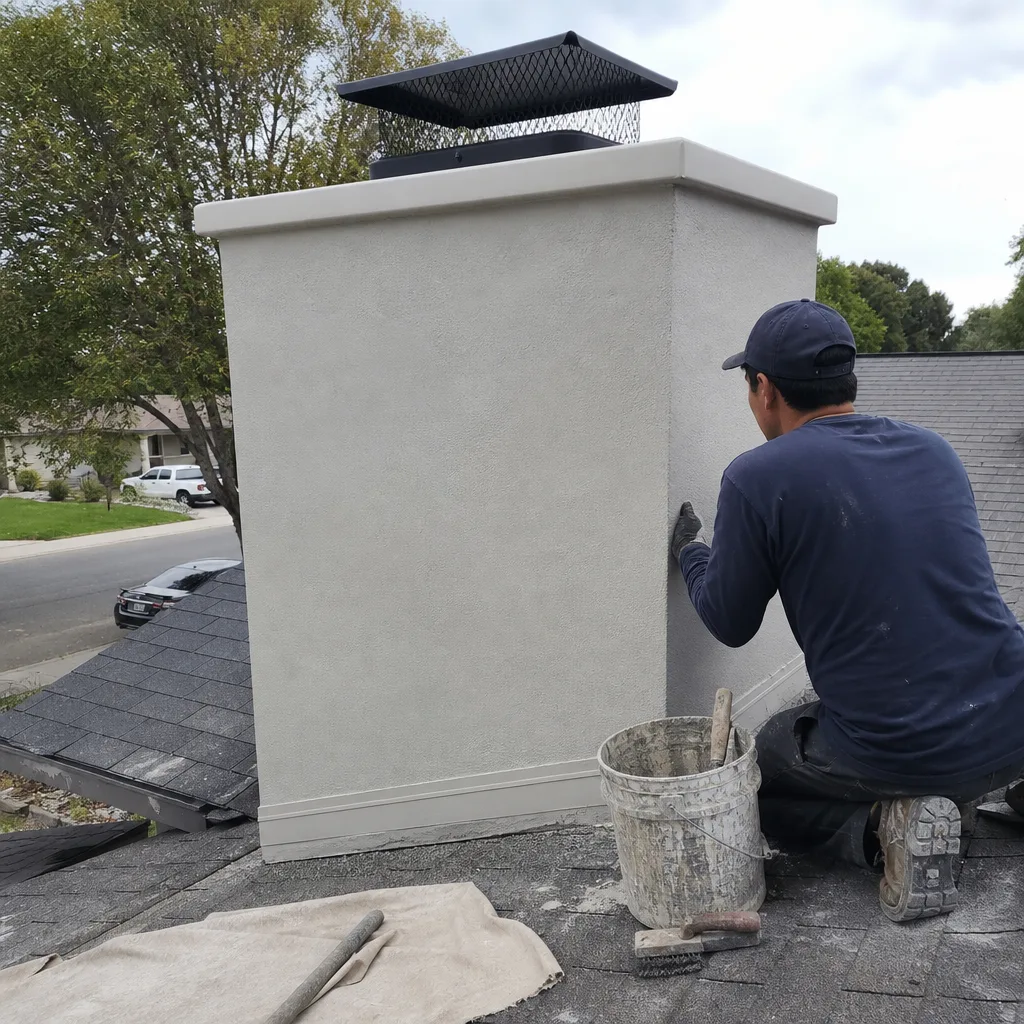 After
After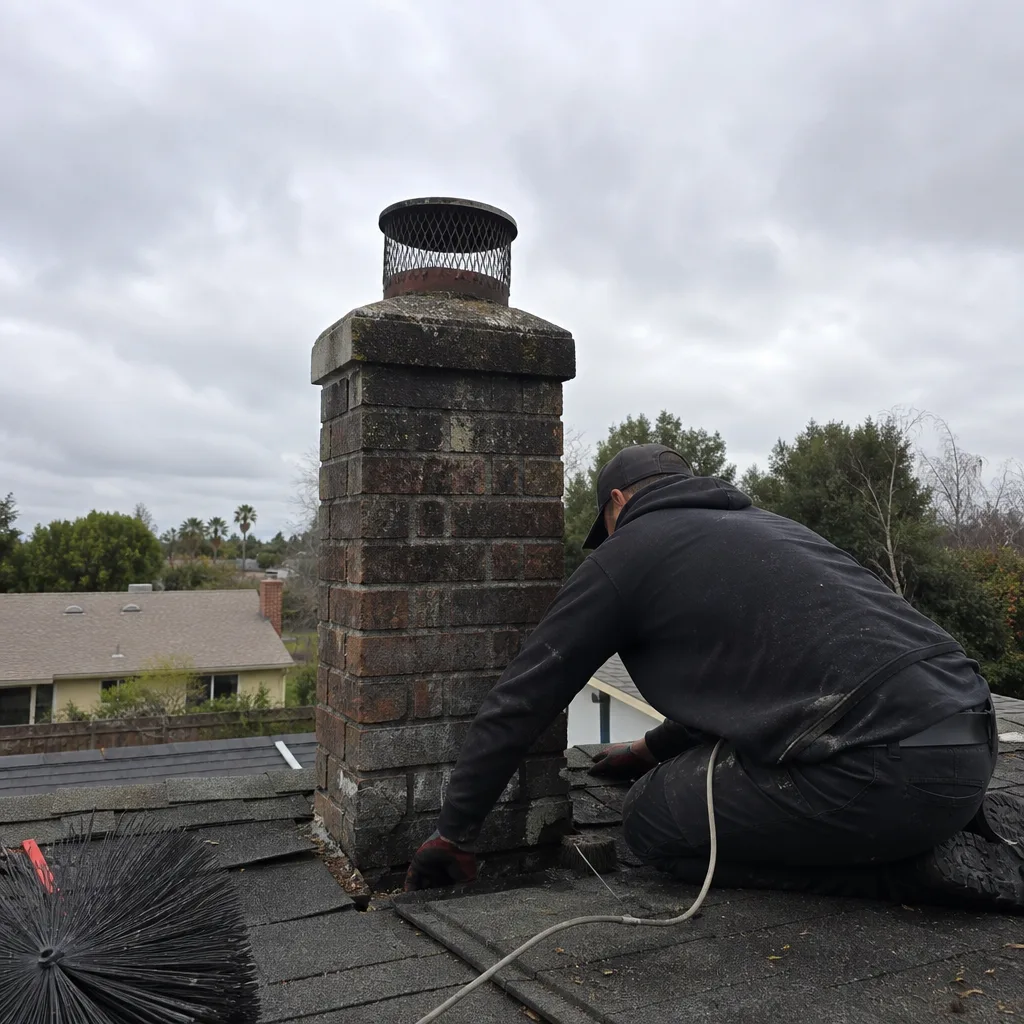 Before
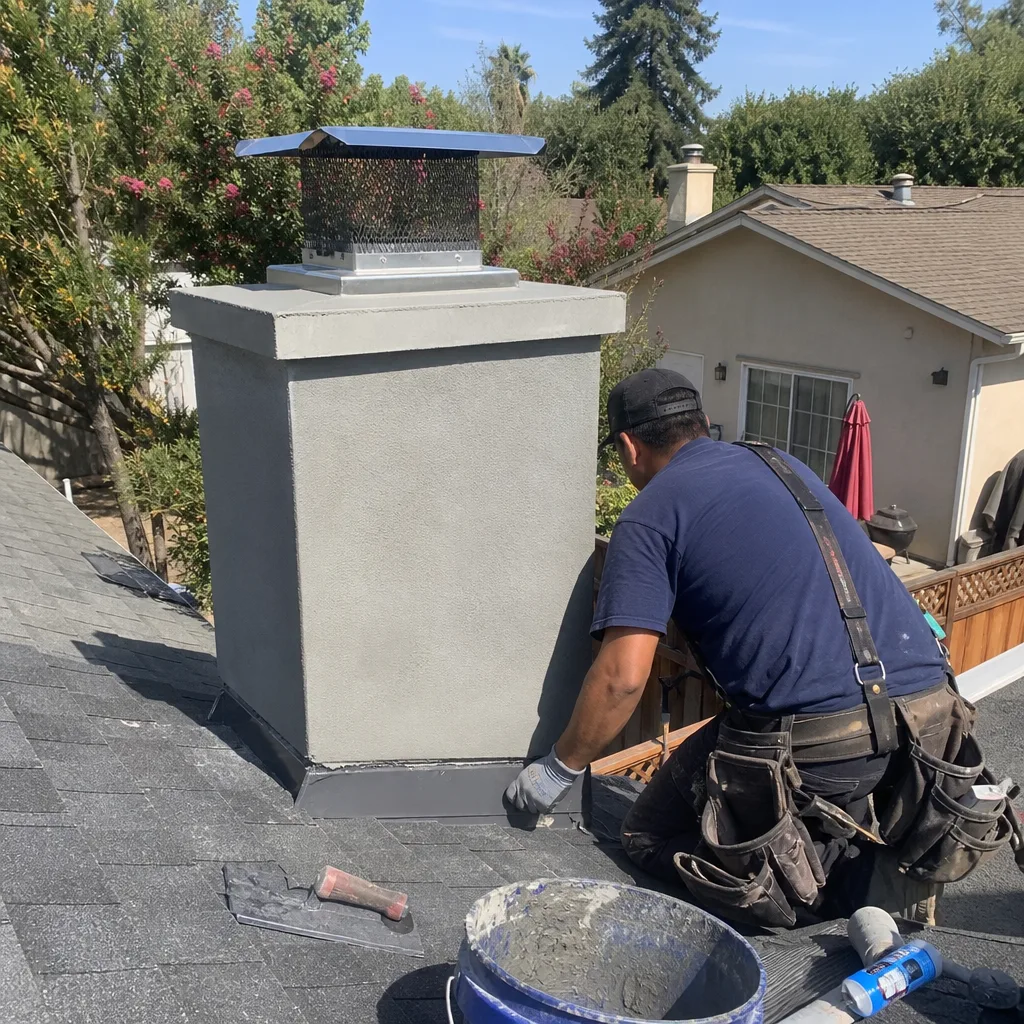 After
After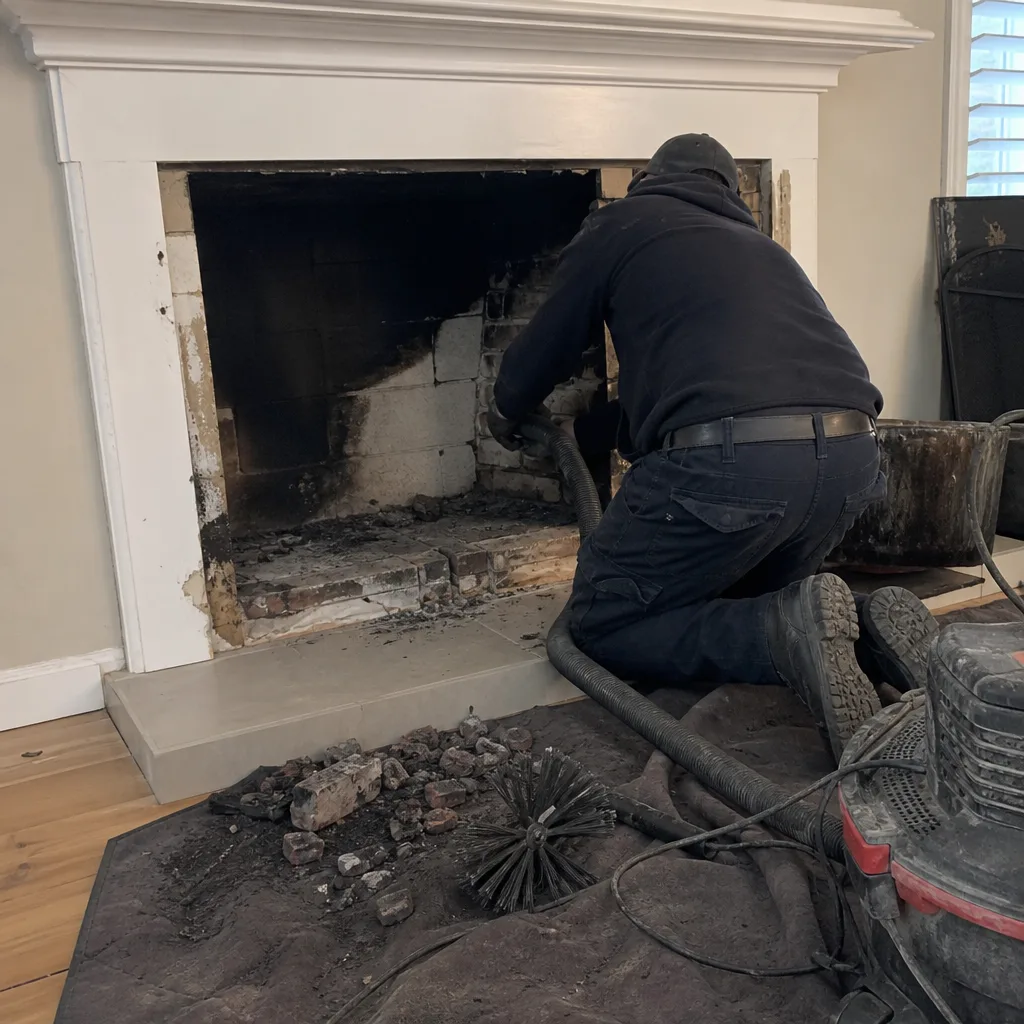 Before
 After
AfterCopperfield Chimney Cap Installation: The San Jose Owner’s Guide
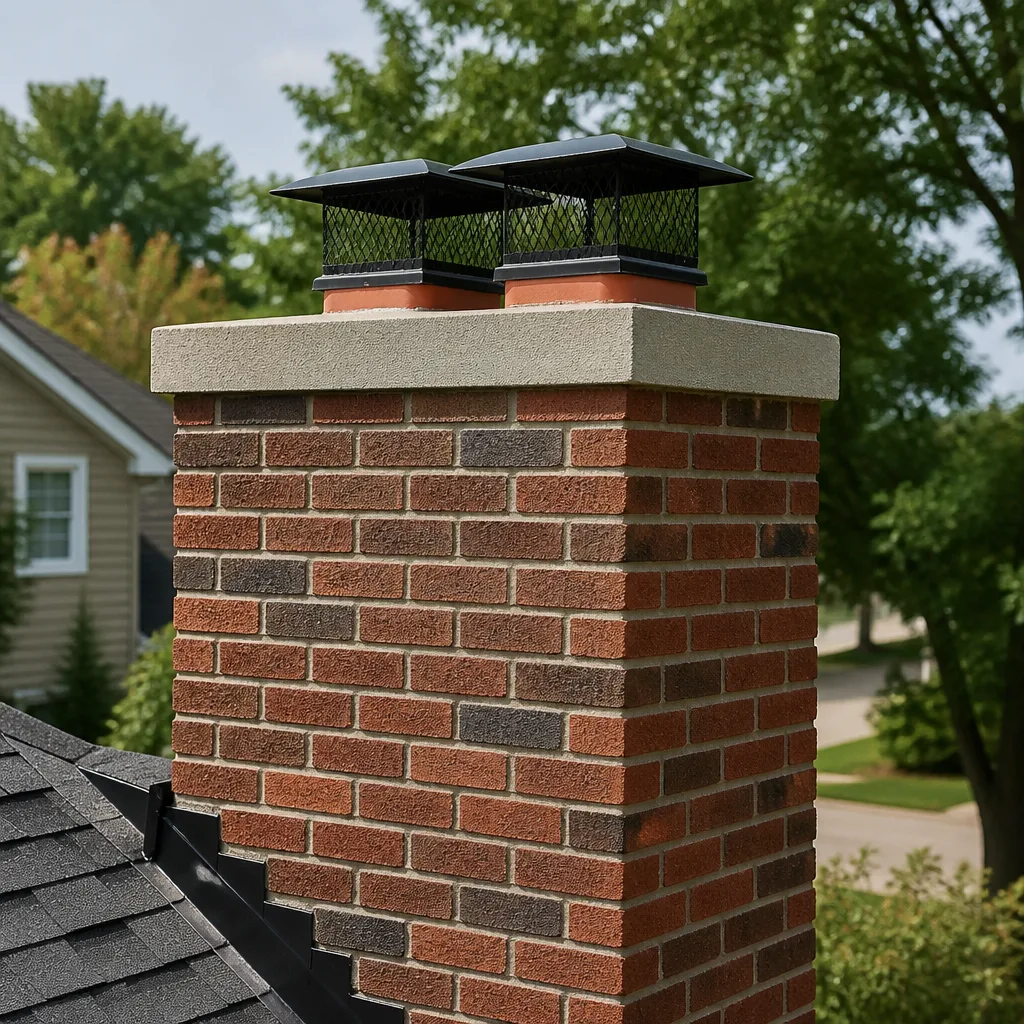
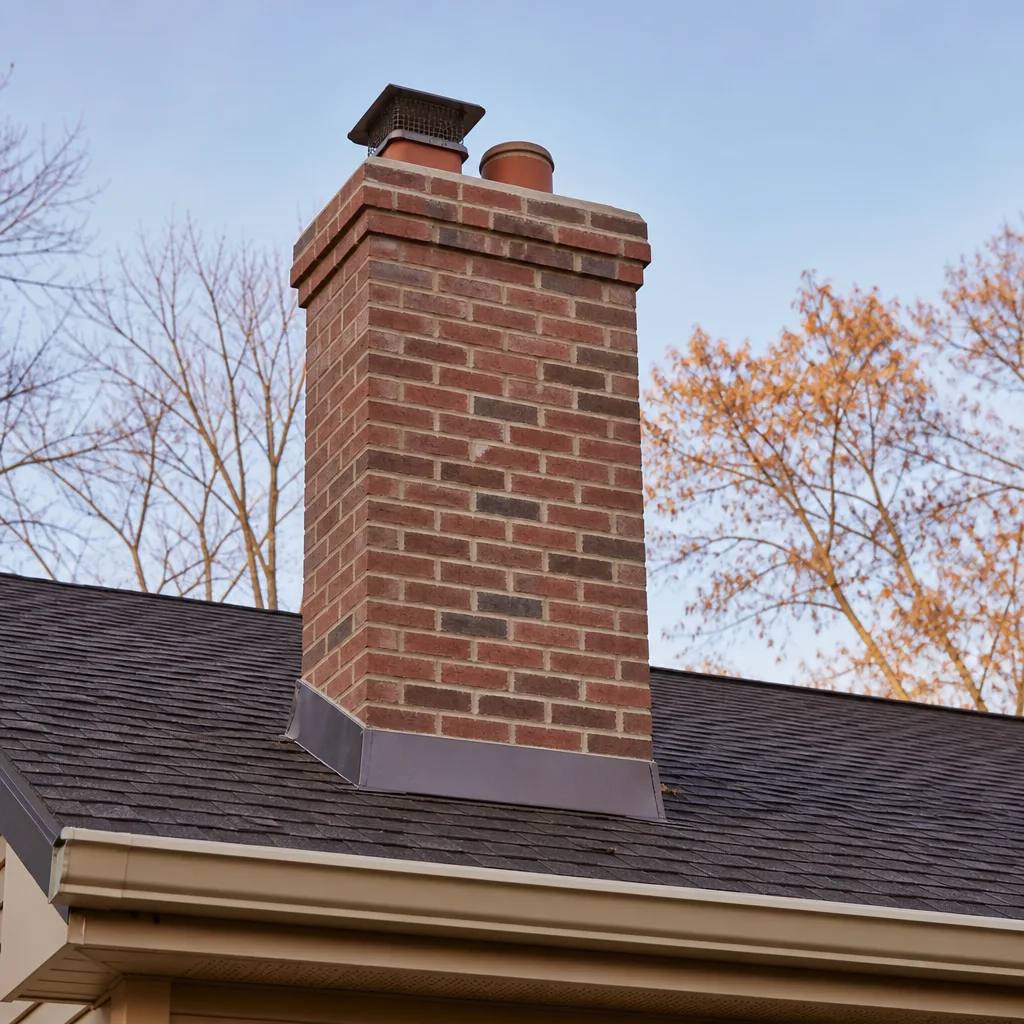
We stock and install Copperfield-compatible chimney caps across San Jose, with most residential replacements running $340-$780 installed depending on flue size, cap style, and whether the crown needs repair before mounting. Same-day installation is available when the cap is in stock on our truck, which it usually is for the 8″, 10″, and 13″ x 13″ sizes we see most often in Willow Glen and Rose Garden homes. Most owners figure out something’s wrong when water starts dripping onto the firebox floor or they spot rust streaks running down the masonry after the first real rain of the season.
Which Copperfield Models This Applies To
Copperfield caps break down into three series you’ll actually encounter in San Jose: the standard galvanized single-flue caps (model prefix C), the stainless multi-flue caps (prefix MCS), and the wind-directional models (prefix WD) that spin with the breeze to improve draft. The label is stamped on the underside of the lid or on a small tag welded to the mesh skirt. If the label’s rusted off, measure the flue tile opening outside-to-outside, not the cap itself, which may have corroded past its original dimension.
Here’s where owners get tripped up: Copperfield’s 8″ x 8″ cap fits a nominal 8″ flue tile, but the actual outside dimension of standard flue tile is 7.5″ x 7.5″. Order by the nominal size, not your tape measure, or you’ll end up with a cap that won’t seat. We carry both OEM Copperfield caps and stainless equivalents from Gelco and Famco through our Haven buying network. The OEM runs slightly higher but matches existing anchor holes exactly. The aftermarket equivalents save $40-$90 and perform identically for weather protection, though you may need to drill new pilot holes if the old ones are stripped. For coastal-influenced San Jose neighborhoods like Almaden Valley, where salt air accelerates galvanized corrosion, we typically quote stainless regardless of what was there before.
Signs Your Copperfield Chimney Cap Installation Is Failing
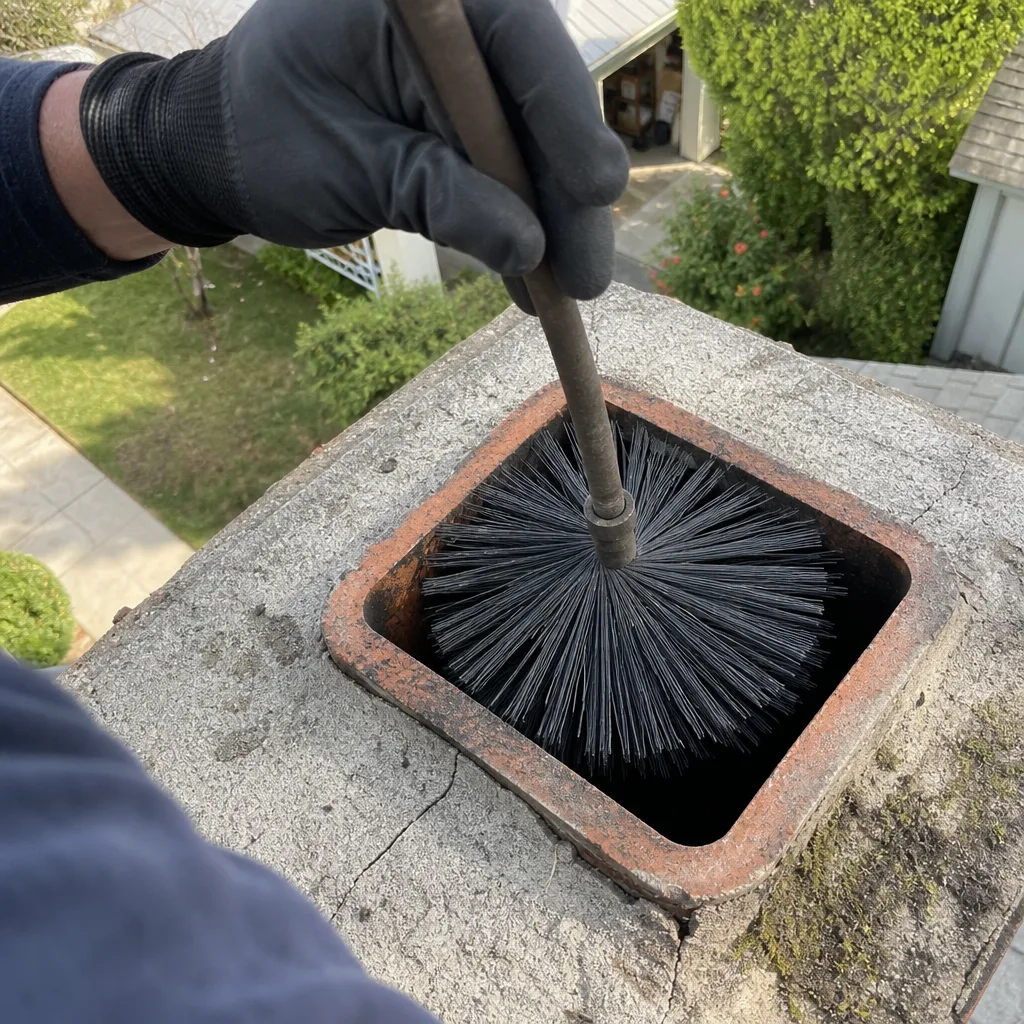
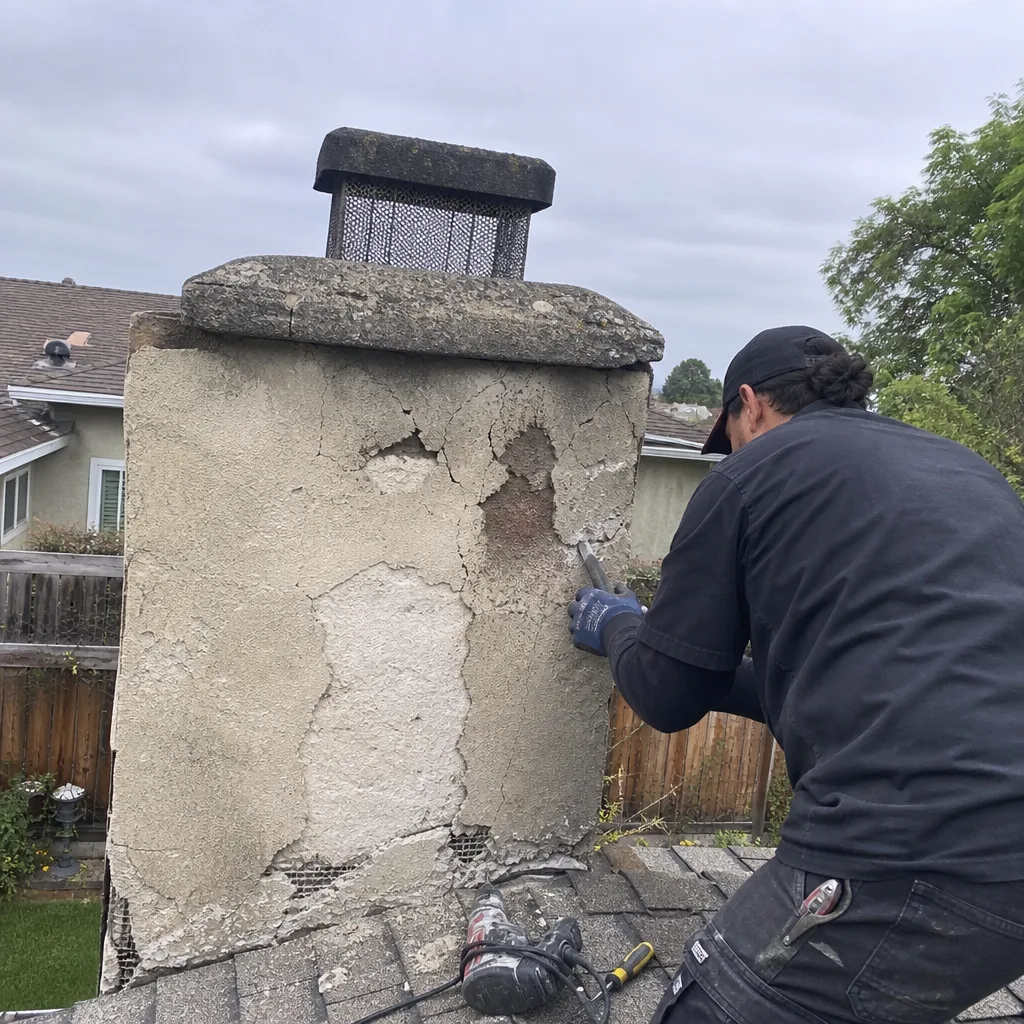
- Rust stains on the chimney breast or roof below the cap. Galvanized steel caps begin losing their zinc coating after 8-12 years in Northern California’s wet winters and dry summers. Once the base metal is exposed, rust runs down with every rain, staining stucco and shingles. The cap isn’t just ugly at this point; it’s porous enough to let water through.
- Water pooling in the firebox or damp odors after rain. A cap’s primary job is to shed water away from the flue opening. When the lid cracks, seams separate, or mesh sides rot through, water follows the path of least resistance straight down. In San Jose’s clay-heavy soils, that moisture can also wick into the chimney base and accelerate spalling in the firebox brick.
- Mesh sides clogged with creosote or animal nesting material. Copperfield’s standard mesh is 5/8″ galvanized wire, which collects creosote flakes and provides perfect footholds for squirrels and roof rats. Once clogged, the cap chokes draft and can push smoke back into the room. We see this most often in homes with older wood stoves that run continuously through winter.
- Cap sitting crooked or detached from the flue. The tension-fit mounting brackets on single-flue models fatigue over time, especially if the cap was ever bumped during roof work or gutter cleaning. A loose cap is worse than no cap; it traps debris against the flue edge while still letting water in at the gap.
- Draft problems or smoke spillage on windy days. Wind-directional models rely on a freely spinning lid and balanced bearing assembly. When bearings seize from corrosion or the directional vane bends, the cap can actually create backdraft in certain wind conditions. We’ve measured negative pressure at the firebox in West San Jose homes where a stuck WD-series cap was the entire problem.
 Before
 After
AfterReplacement Cost & What’s Included
| Service Component | Price Range (San Jose) |
|---|---|
| Standard single-flue cap, galvanized, installed | $340-$460 |
| Standard single-flue cap, stainless, installed | $480-$620 |
| Multi-flue cap (covers 2+ flues), stainless | $620-$780 |
| Crown repair/rebuild before cap mounting (if needed) | $180-$340 additional |
| Flue tile replacement (cracked or spalled) | $220-$400 additional |
The range depends on three things: cap material, accessibility of your roof, and whether the crown beneath the cap is sound enough to anchor to. We run a camera down the flue and photograph the crown surface before quoting, so you see what we see. Every cap installation includes new mounting hardware, high-temp sealant at the flue tile joint, and a written warranty under our 365-Day Done Right Promise. The price we write is the price you pay; Haven Standard Clause 1 requires it.
DIY or Call Us?
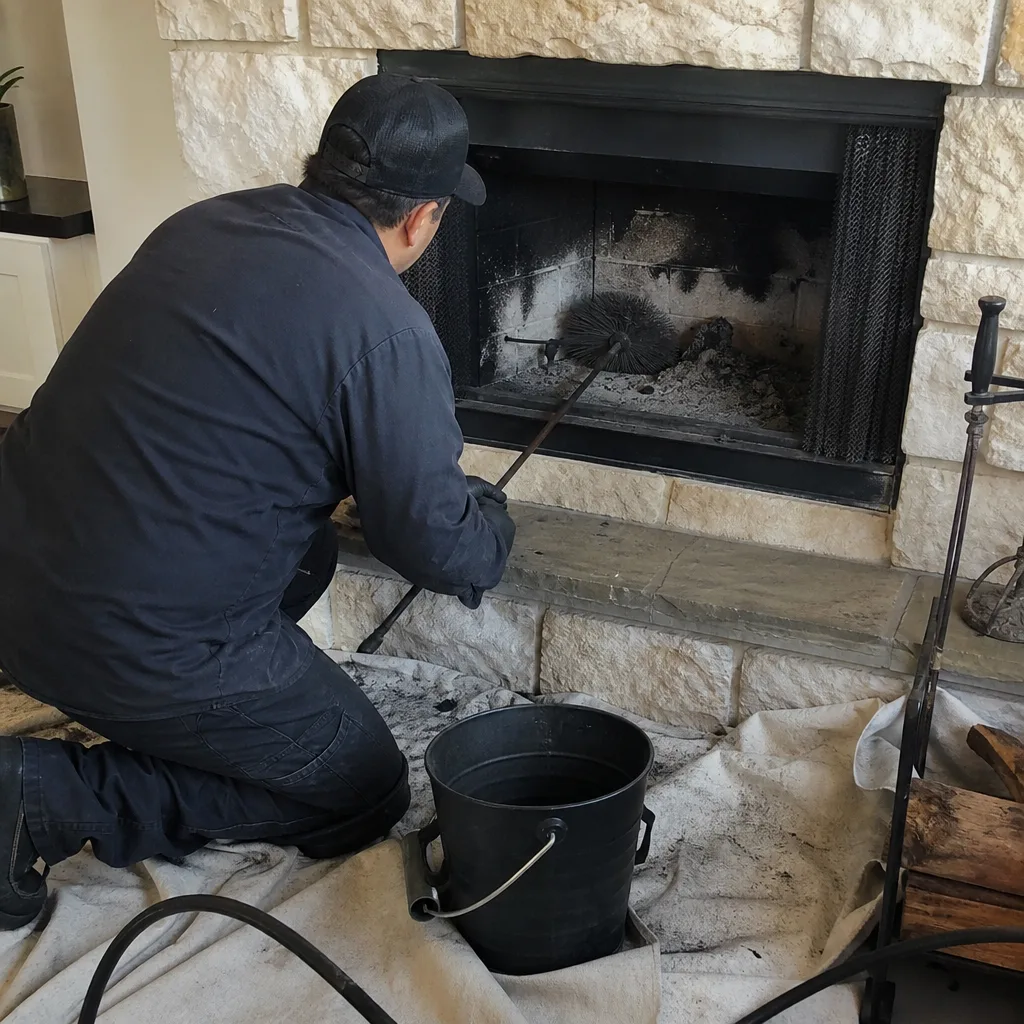
You can safely check whether your cap is loose, whether the mesh is clogged from below with a flashlight, and whether water’s entering after rain. Note the model or take photos of any remaining labels. That’s about where safe DIY ends.
Installing a chimney cap means working at roof height on a pitched surface, often near a roof edge, with the added complication that you’re handling a metal object that wants to catch wind like a sail. The mounting brackets on tension-fit models require precise torque; too loose and the cap blows off in the first Santa Ana wind, too tight and you crack the flue tile. If your cap needs a drop-in installation with screws into the crown, you’re drilling into masonry that may be compromised from years of water intrusion. We don’t recommend it.
Our technicians carry the common Copperfield sizes and Gelco/Famco equivalents on every truck. Call (669) 291-2770 and we’ll confirm fit from your photos, quote in writing, and schedule installation. The camera tells you what it found. The quote tells you what it costs. Everything else is just conversation.
FAQs
Galvanized models typically last 10-15 years in our climate; stainless models often go 20+ if the mounting hardware is checked periodically. Salt air exposure in neighborhoods closer to the bay can cut galvanized lifespan by a third. We inspect cap condition as part of every sweep and note it in your documented photo record.
Mesh sides can sometimes be cleaned and re-secured if the frame is sound, but cracked lids, separated seams, or rust-through mean replacement. We’ve found that repaired caps usually fail again within two years, and the second failure often damages the crown beneath. We warranty our installations for 365 days and don’t warranty repairs to existing caps for that reason.
Most residential cap replacements take 45-90 minutes on site, including camera inspection of the flue and crown, removal of the old cap, and installation of the new one with fresh hardware and sealant. If crown repair is needed, plan on 2-3 hours. We bring the photo record and written warranty to you before we leave.
We stock the common sizes on our service trucks through our Haven buying network, which sources from Copperfield, Gelco, Famco, and Olympia Chimney. You don’t need to order anything. If your cap is an unusual size or a discontinued Copperfield model, we can typically source it within 48 hours or match it with an equivalent from another manufacturer. Call (669) 291-2770 with your flue measurements and we’ll confirm what we have.
Written by Corrine Halstead, Owner, Level Two Chimney San Jose at Level Two Chimney San Jose, serving San Jose and nearby areas.